BEST BUDGET STUDIO MONITORS
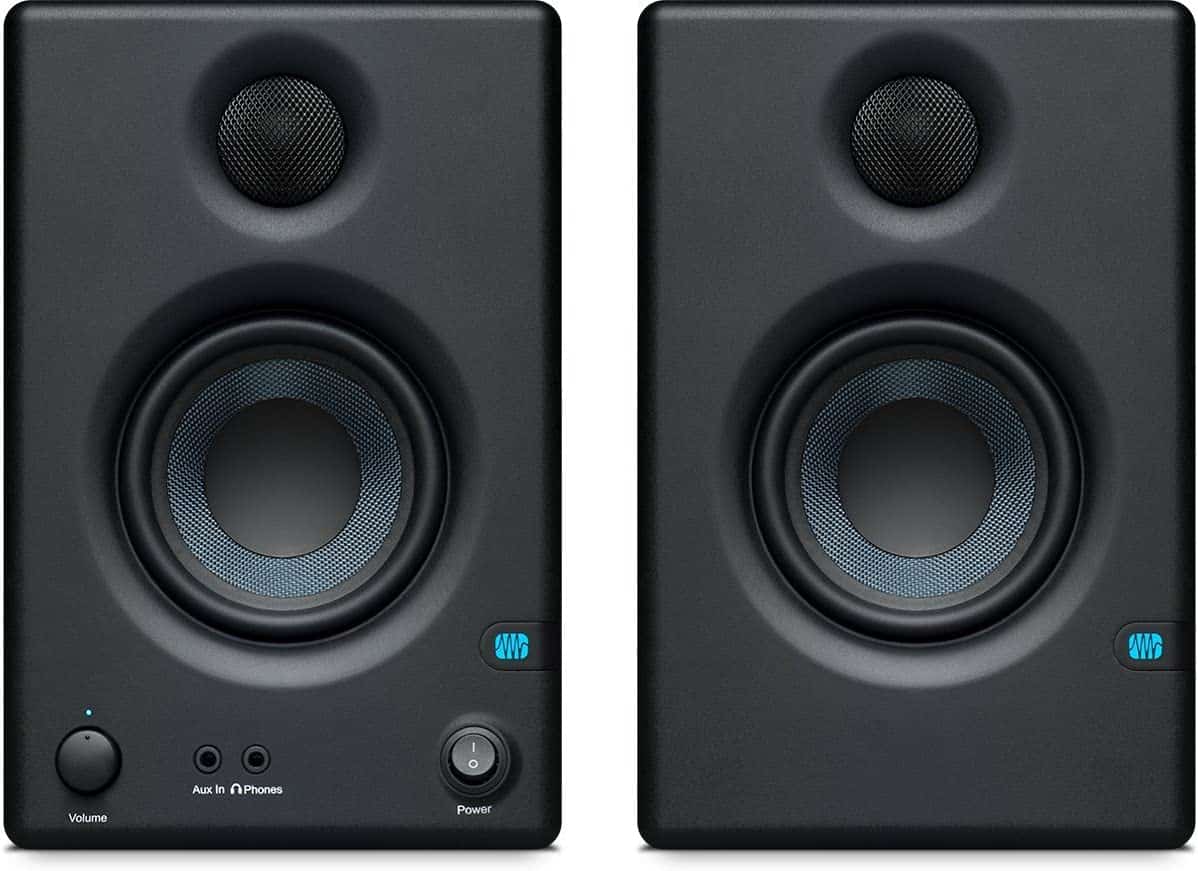
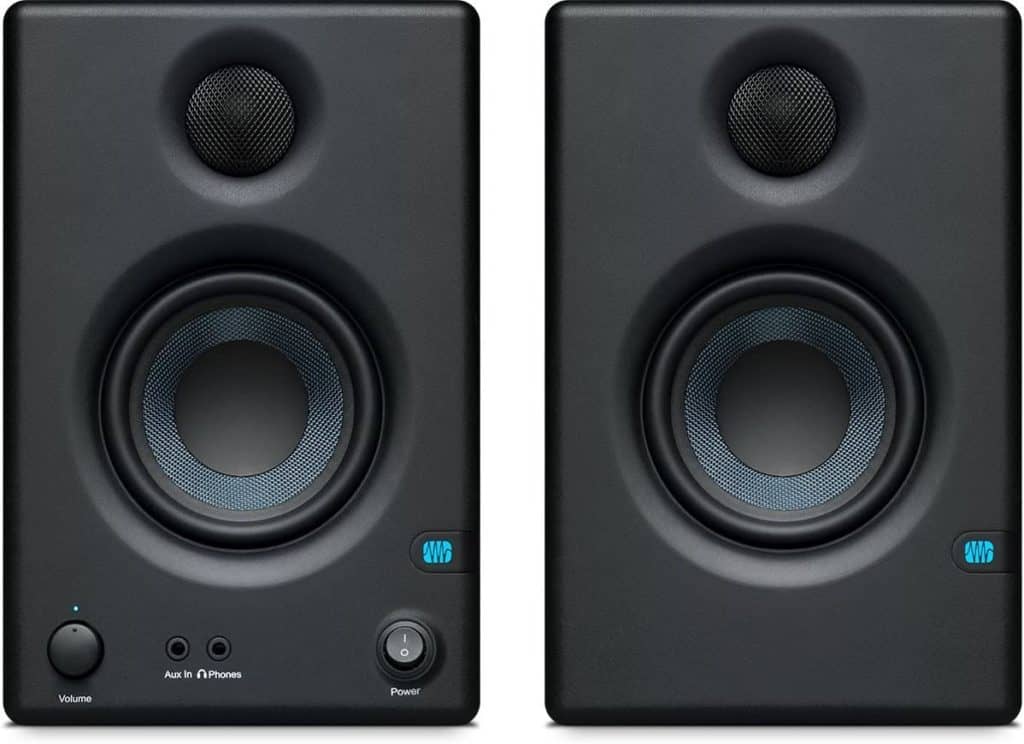
PreSonus Eris 3.5 Studio Monitors
It’s nothing short of unbelievable to get a pair of 3.5-inch woofers, all the outputs you could ever need, and a full-fledged DAW for under $100.
NEXT BEST
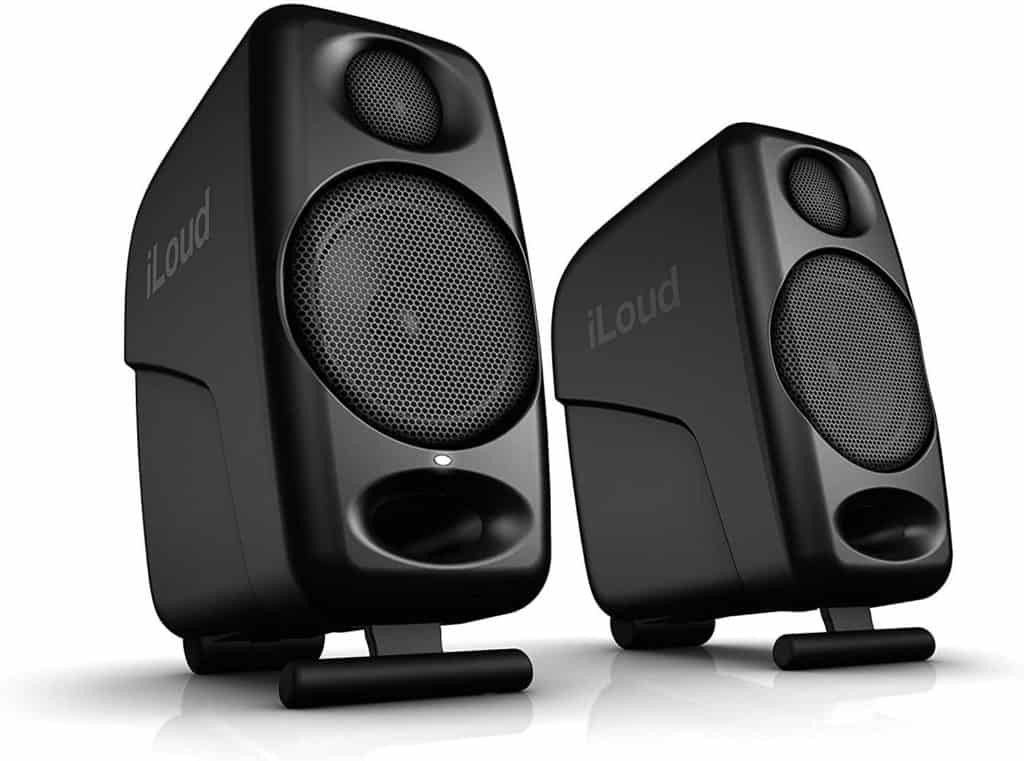
iLoud Micro Wireless Studio Monitors
They’ve got a heftier price tag, but these physics-defying wireless monitors are just too cool – and perfect for the smaller studio setup.
If you’re just getting started in audio production, you’re likely not looking to spend a fortune.
I mean, let’s face it. Gas is at an all-time high and inflation is at 9.1% as of this writing. It’s kind of tough to justify shelling out a ton of money on a new hobby, especially if you’re a beginner.
That said, studio monitors are an excellent way to reproduce sound in a physical space, and invaluable tools for mixing and mastering your own music.
(And you don’t need to break the bank to get a great pair of budget studio monitors.)
That’s why I’ve put together this list of the best budget studio monitor speakers for 2023. I’ve included a variety of models to suit different budgets and needs, so you’re sure to find the perfect pair for your home studio.
I’ve also included a list of frequently asked questions at the bottom of this article. Be sure to check that out so you can make the most informed purchase.
On this list, you’ll find budget studio monitors from renowned brands like JBL, KRK, and Mackie. I’ve also included a few budget-friendly options for those just starting out.
So, whether you’re looking for your first pair of studio monitors or upgrading from your crappy laptop speakers, this list has you covered.
Let’s dive in!
Note: some of these links are affiliate links. Should you choose to purchase the products via these links, Composer Code will receive a small commission at no extra cost to you.
Important studio monitor terms & definitions
If you’ve never shopped for studio monitors, some of the specifications below may seem totally foreign to you.
Here are some important definitions and terms you should know as you research buying the best studio monitors:
This is the range of frequencies that a studio monitor can reproduce. The human ear can hear frequencies between 20Hz and 20kHz, so you’ll want to look for monitors with a frequency response that at least falls within this range.

This is the point at which low and high frequencies are divided between the woofer and tweeter.
This is the larger speaker and the part of the monitor that reproduces low frequencies.

This is the smaller speaker and the part of the monitor that reproduces high frequencies.
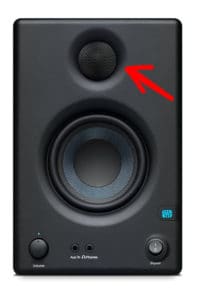
This is what powers the studio monitors and gives them their volume. The higher the wattage, the more power (and thus more sound output) can be produced.
This is how you connect your audio source to the monitors. The most common inputs are XLR, 1/4″, and RCA.
Polarity refers to the direction of the electrical signal. If the polarity is reversed, it can cause phase cancellation and make your mix sound thin.
Phase is the relationship between the waveforms of two different sounds. If they’re in phase, they’ll reinforce each other and sound louder. If they’re out of phase, they’ll cancel each other out and sound quieter.
This is a measure of how loud a studio monitor can get. The higher the SPL, the louder the monitor.
This type of monitor is designed to be placed close to the listener, usually within three feet.
This type of monitor is designed to be placed further away from the listener, around four to six feet.
This type of monitor is designed to be placed even further away from the listener, around eight to ten feet.
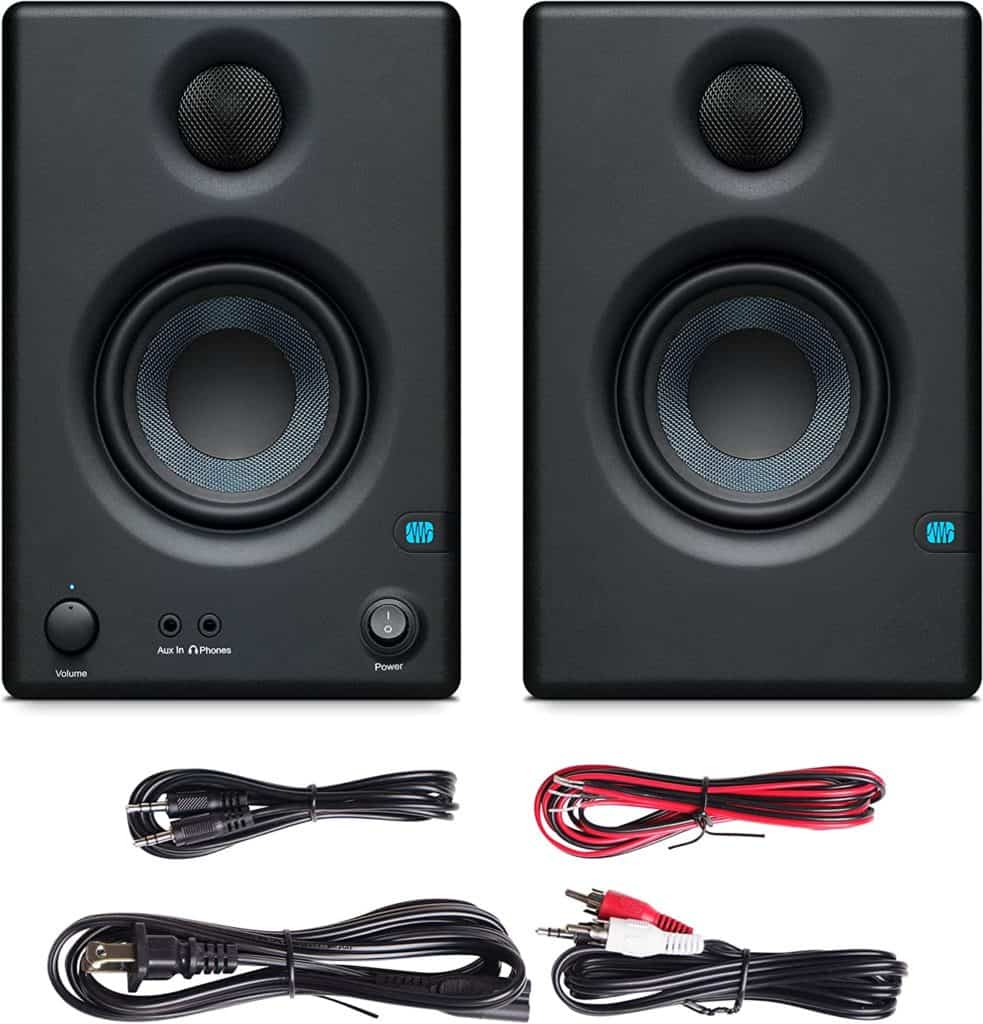
PreSonus Eris 3.5s Studio Monitors
The best cheap studio monitors for beginners are the PreSonus Eris E3.5-3.5″ Near Field Studio Monitors. It’s nothing short of unbelievable to get a pair of 3.5-inch woofers, all the outputs you could ever need, crispy sound quality, and the Studio One DAW for under $100.
Plus, PreSonus is very generous with bundling all the cables you’ll need in this package, unlike some other folks on this list (*cough* KRK *cough*).
The fact that you’ll have just about everything you’ll need to start making music (including a slew of really, really nice plugins) for under $100 make these the best budget studio monitors for beginners, hands down.
The best part is that even if your budget grows, these little beauties will still have a place in your studio as great near-fields thanks to their compact form factor.
If you’re looking to jump into the world of studio monitors on a tight budget, look no further.
Specifications:
Frequency Response:
80 Hz – 20 kHz
Amplifier:
50W (25W per speaker)
Low-Frequency Driver:
3.5″ woofer
High-Frequency Driver:
1” silk dome tweeter
Inputs:
- Stereo 1/8″ (2)
- Balanced ¼” TRS (2)
- Unbalanced dual RCA stereo (2)
Outputs:
Controls:
- Volume
- MF Control
- HF Control
What comes in the box:
- PreSonus Eris E3.5 3.5″ 2-Way 25W Nearfield Monitors (Pair)
- 5′ Stereo 3.5mm TRS to Dual RCA Cable
- 5′ Stereo 3.5mm TRS Cable
- 6.6′ Speaker Cable
Power Cable - 8 x Foam Feet
- Studio One Prime DAW
- Studio Magic Plug-In Suite
- Limited 1-Year Warranty
Pros and Cons:
Pros:
- Clear and accurate sound quality
- Incredible price tag. Almost too good to be true.
- Comes with Studio One Magic Plug-In Suite (over $1,000 worth of plugins)
- Lots of bundled cables and plenty of inputs
Cons:
- Seriously, for the price… how can I complain? These monitors are awesome.
IK iLoud Micro Monitor Portable Wireless Studio Monitors
Anyone who doubts these powerful little speakers are swiftly proven wrong once they start pumping out signal.
A tiny set of wireless cones that look like plain old computer speakers? How on earth can these be serious contenders as the best budget studio monitors?
As it turns out, the performance of these affordable studio monitors is incredible, delivering an ultra-pure frequency response and faithful sound reproduction (even over Bluetooth!).
Plus, the fact that they’re so small (the smallest in the world, according to the manufacturers) makes them perfect for apartments or minimalistic studio setups.
If you can swing the price (which is substantially higher than our first pick), you can’t go wrong with these bad boys.
Specifications:
Low-frequency driver:
3″ woofer
High-frequency driver:
.75″ tweeter
Power Output:
70W total
Inputs:
- RCA (2)
- TRS 1/8″ (1) (aux input)
- Bluetooth
Outputs:
None
What comes in the box:
- iLoud Micro Monitors (2)
- RCA cable
- Power cable
- 4-pin speaker connector cable
Pros and Cons:
Pros:
- Small, lightweight, and they pack a serious punch
- As someone who hates cables, the wireless option is absolutely clutch
- Great for small studios or apartments
Cons:
- Quite pricey
- No XLR or 1/4″ inputs
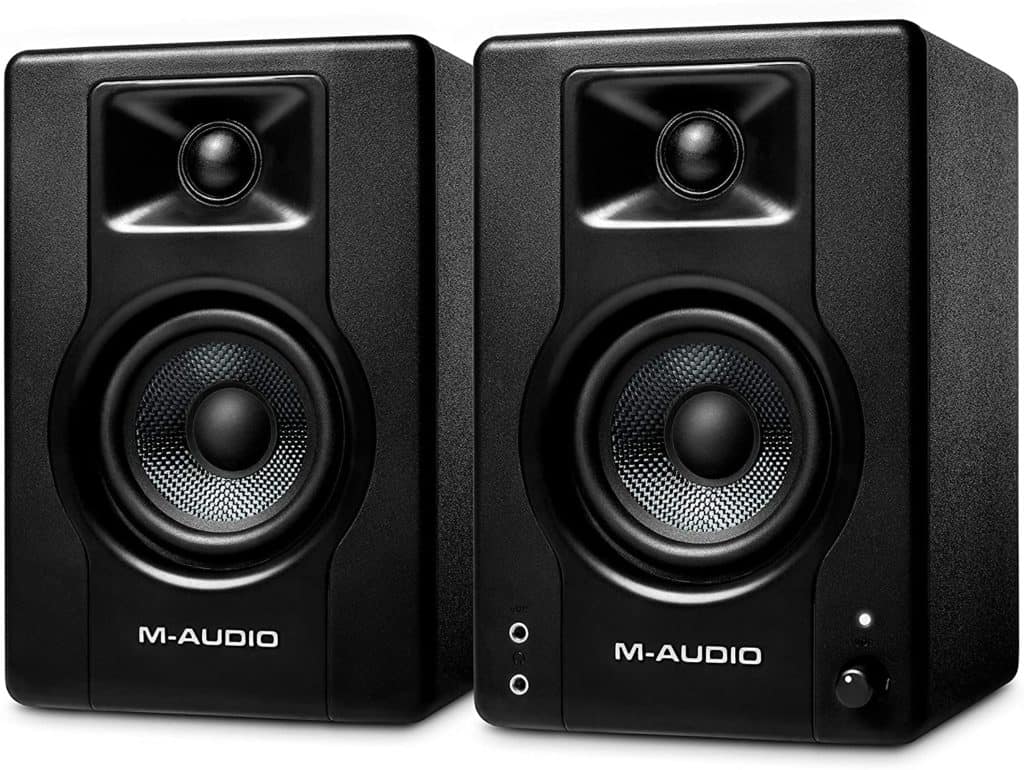
M-Audio BX3 3.5" Studio Monitors
The M-Audio BX3 monitors are great all-purpose budget studio monitors designed for live-streaming, gaming, sound editing, music production, watching movies, or listening to music.
Despite some minor flaws, they send a punchy 120 watts of power and make for a great pair of budget-friendly studio monitors, especially at this price point.
Specifications:
Amplifier:
120W (both speakers)
SPL:
100 dB maximum peak
Low-Frequency Driver:
3.5″ woofer
High-Frequency Driver:
1” silk dome tweeter
Inputs:
- RCA input
- 1/4″ input
Outputs:
What comes in the box:
- BX3 Speakers (Stereo Pair)
- Foam Feet
- 2-Prong IEC Power Cable
- 1/8” TS Speaker Interconnect Cable
- 1/8” to 1/8” TRS Aux Cable
- 1/8” TRS to RCA Cable
- User Guide
- Safety & Warranty Manual
Pros and Cons:
Pros:
- Clear and accurate sound quality
- Tons of power for the price
- Nice front-facing volume control knob
Cons:
- Some users found the highs to be too harsh
- No XLR input options
The Mackie CR3-X 3-Inchers are an excellent choice for those looking for great-sounding beginner studio monitors.
These monitors have a flat frequency response that results in accurate sound reproduction, and they also feature multiple inputs and outputs for added flexibility.
While they don’t have a subwoofer, the CR3-X monitors still provide plenty of low-end response thanks to their 3-inch woofers. And if you need even more bass, you can always add a subwoofer later on.
Specifications:
Power:
100W (both speakers)
Low-Frequency Driver:
3″ woofer
High-Frequency Driver:
.75” silk dome tweeter
Inputs:
- 1/8″ input
- RCA input
- 1/4″ input
Outputs:
What comes in the box:
- CR3-X Monitors (Pair)
- Power Cables (2)
- 1/8” TRS to RCA Cable
- 1/8” TRS to 1/4″ TS Cable
Pros and Cons:
Pros:
- Clear and accurate sound quality
- Nice to have an 1/8″ input
- Users have the ability to easily add the modular Mackie subwoofer
Cons:
- The woofer and tweeter are a bit smaller than other monitors on this list
- Some users reported a faint “hiss” sound at very low volumes
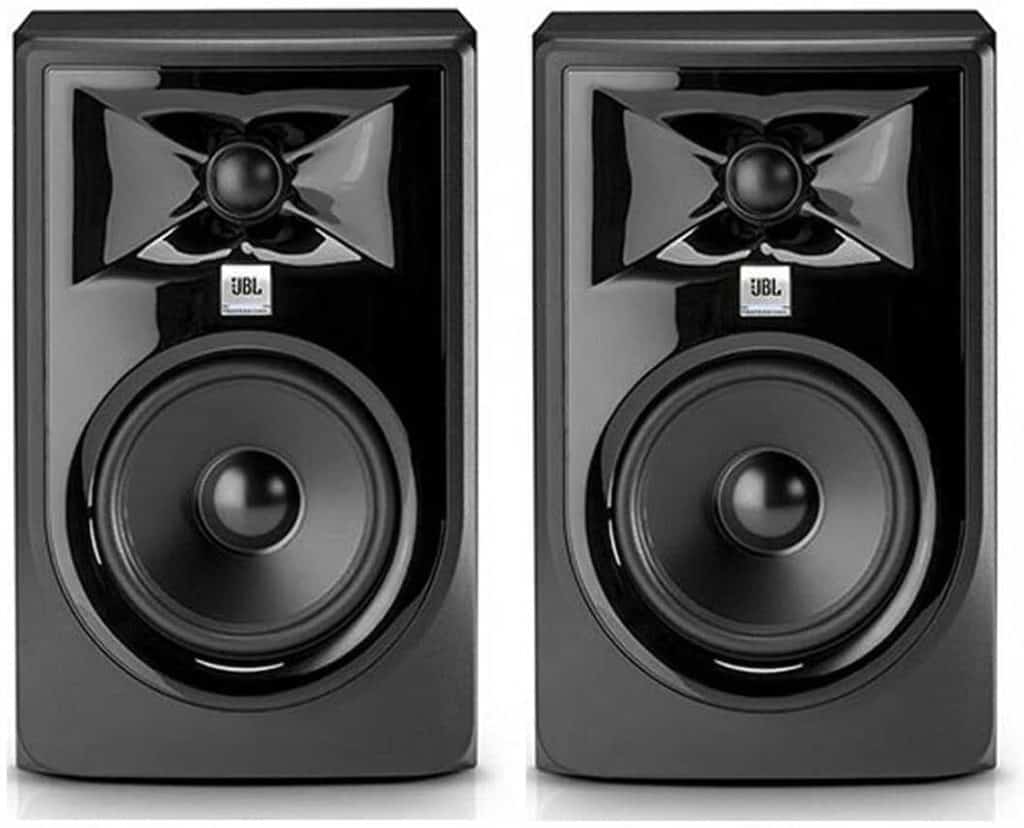
JBP Professional 305P MkII Studio Monitors
The JBL Professional 305P MkII are next-generation powered studio monitors that provide accurate and powerful sound reproduction.
These monitors have a formidable 5-inch woofer and 1-inch tweeter, and they’re designed to produce clear, accurate sound across the entire frequency range.
The 305P MkII monitors also feature multiple inputs and outputs for added flexibility, and they come with a built-in amplifier for extra power.
Specifications:
Frequency Range (-10dB):
43 Hz – 24 kHz
Frequency Response (±3dB):
49 Hz – 20 kHz
Peak SPL Max:
108dB
HF/LF Trim Control:
-2dB, 0dB, +2dB
Inputs:
What comes in the box:
- 2 x 305P MkII Monitors
- 2 x Power Cables
- 2 x XLR Cables
- 2 x 1/4″ TRS Cables
- User Guide Safety & Warranty Manual
Pros and Cons:
Pros:
- Clear and accurate sound quality
- 5-inch woofer
- Nice to have XLR inputs
- Hey, thanks for the cables! <3
Cons:
- A bit pricier than other options on this list
- No RCA or 1/8″ input
- No controls on the front face of the speaker
Pioneer DJ DM-40 Studio Monitors
The Pioneer DJ DM-40s are 21W 4″ two-way active monitors that provide clear and accurate sound reproduction at a stupid cheap price tag.
The low cost makes these incredibly attractive as budget studio monitors, but users will have to sacrifice some sound power and useful inputs.
Specifications:
Low-frequency driver:
4″ woofer
High-frequency driver:
.75″ tweeter
Amplifier:
21W per speaker
Frequency Response:
70 Hz – 30 kHz
Inputs:
RCA line-in
Mini-jack line-in (3.5mm)
Outputs:
1 headphone monitor (mini-jack)
What comes in the box:
- 2 x DM-40 Monitors
- 2 x AC Cables
- 2 x RCA Cables
- User Guide Safety & Warranty Manual
Pros and Cons:
Pros:
- A big favorite of DJs and electronic music producers thanks to its crispy highs and deep lows
- Incredible price tag for what you get
Cons:
- Both drivers are a bit small
- No XLR or 1/4″ inputs
- Super random/useless mini-jack input
Alesis Elevate 5 MKII Powered Studio Monitors
The Alesis Elevate 5 MKIIs are powered desktop studio speakers that provide clear and accurate sound reproduction.
It’s pretty crazy to get a 5″ speaker at this price tag, and the 80W signal will be more than enough for most bedroom studios.
However, you’ll need to stock up on cables, as Alesis kind of skimps on that front.
Specifications:
Low-frequency driver:
5″ woofer
High-frequency driver:
1″ tweeter
Power Output:
40W per speaker, 80W total
Inputs:
RCA inputs (2)
1/4″ TRS (2)
Outputs:
Headphone monitor (mini-jack) (1)
What comes in the box:
- Elevate 5 MKII Monitors (2)
- RCA-to-1/8″ audio cable
- 1/4″ interconnection cable
- Power cable
- QuickStart Guide
- Safety Manual
Pros and Cons:
Pros:
- The front-facing headphone output allows you to quickly bypass the speakers, which is a pretty cool feature
- 5″ woofer at a dirt-cheap price
Cons:
- Alesis isn’t very generous with cables, especially considering some of the other bundles on this list
- No XLR inputs
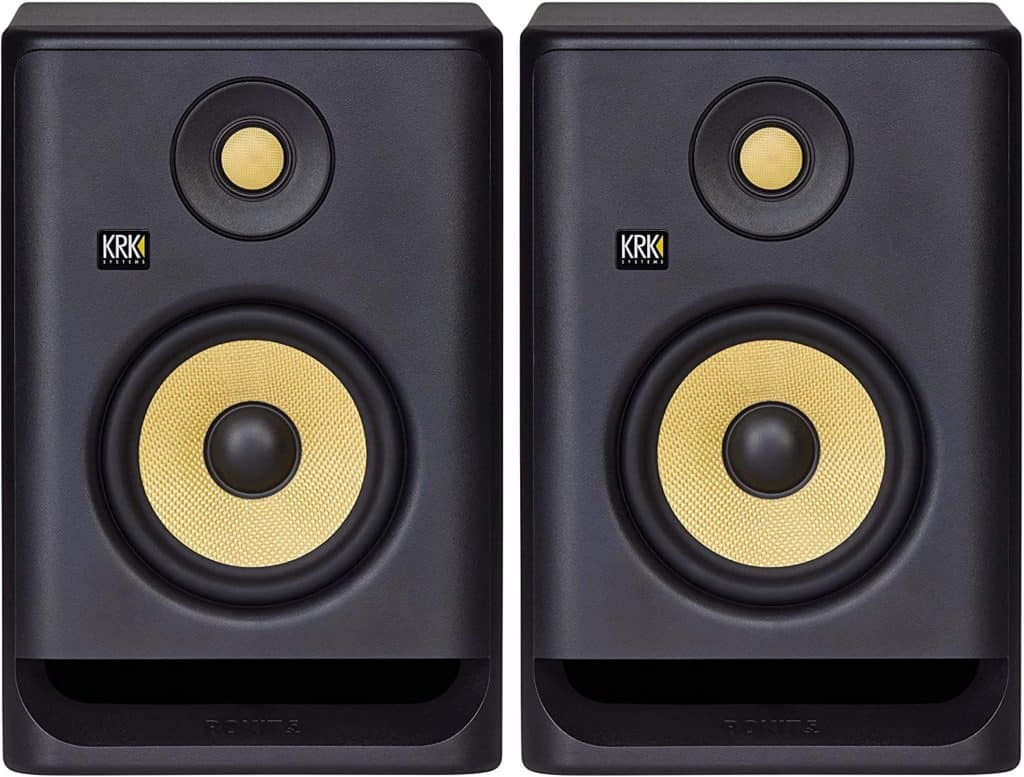
KRK RP5 Rokit 5 G4 Studio Monitors
The KRK RP5 Rokit 5 G4s are professional bi-amp 5″ powered studio monitors that provide clear and accurate sound reproduction. These monitors have a wide frequency response and come with multiple inputs and outputs for added flexibility (plus some cool extra features).
Any KRK speakers will deliver quality, but the steep price tag makes it tough for me to recommend them higher as the best beginner studio monitors.
But if you are willing to shell out the money, you’ll not only get a reliably awesome pair of speakers, but some fancy bells and whistles like:
- 25 DSP-driven, room-tuning EQ presets
- A built-in brick wall limiter
- A fun little LCD screen on the back of the speakers to visualize the speaker EQ
These speakers are among the most expensive on the list, creeping up on $400 for a pair. However, as the adage goes, you get what you pay for.
Specifications:
Frequency response:
43Hz – 40KHz
Low-frequency driver:
5.25″ woofer
High-frequency driver:
1″ tweeter
Power Output:
55W per speaker, 110W total
Inputs:
1/4″ TRS (1)
Outputs:
None
What comes in the box:
- KRK RP5 Rokit 5 G4s (2)
- Power cables (2)
Pros and Cons:
Pros:
- Some of the best speakers out there
- Really handy room-tuning presets integrate with the KRK app for the best quality sound in your particular room
Cons:
- Pricey
- No extra cables
- Only 1/4″ inputs
- My personal opinion is that these monitors are a touch overvalued
Some things to keep in mind when shopping for the best budget studio monitors:
Try to optimize your studio environment
Ready for some not-so-great news?
Here goes: if your mixing environment is untreated – meaning full of echoes or unpleasant reverberations – your reference monitors will be almost entirely useless.
Room treatment is a topic way beyond the scope of this post, but here are some quick tips for cheap room treatment:
- Throw thick curtains on the window
- Throw a big, fluffy rug on the floor
- Buy a bookshelf and fill it with old books (go to Goodwill and buy books for pennies on the dollar if you don’t have them). Ever wonder why libraries are so quiet? This is why! Books are an excellent natural sound diffusion and absorption material.
Active speakers have a built-in amplifier, while passive speakers need an external amplifier.
Active speakers are usually more expensive than passive speakers, but they’re also easier to set up and use.
Additionally, active speakers typically have better sound quality than passive speakers.
All the speakers on this list are powered, active speakers.
DJ speakers are designed to pump out a lot of bass and be loud. They’re not as accurate as studio monitors, but they’re more than adequate for mixing and mastering.
Studio monitors are designed for accuracy, so you can hear every detail in your track. This is essential for mixing and mastering, but it’s not as important for DJing.
So, if you’re looking for a set of speakers to practice mixing and mastering on, then studio monitors are the way to go. But if you’re looking for a set of speakers to DJ with, then DJ speakers will be more than adequate.
Home listening speakers are designed to make music sound “pleasing” and are often heavily bass-boosted. This can make it difficult to mix accurately on them.
Studio monitors, on the other hand, are designed to provide a flat response so that what you hear is accurate and true to the source material. This allows for more accurate mixing and mastering.
The frequency response is the range of frequencies that a speaker can reproduce. A wider frequency response means that the speaker can reproduce lower (bass) and higher (treble) frequencies accurately.
Some studio monitors are “full-range” which means they can reproduce the entire frequency spectrum (20 Hz – 20 kHz). Others are “bi-amped” which means they have separate amplifiers for the low and high frequencies.
The number of inputs and outputs on a studio monitor can be important, depending on how you plan to use it. If you only need to connect one source, then a single input is all you need.
However, if you plan on connecting multiple sources (e.g. a turntable, computer, and microphone), then you’ll need more than one input. The same goes for outputs. If you want to connect the monitors to a headphone amplifier or subwoofer, then you’ll need an output.
Remember, in order to for studio monitors to work, they need to be connected to an audio interface.
The most important and common inputs are:
- RCA
- TRS (1/4″)
- Headphone (1/8″)
- XLR (typical microphone cable)
If you’ve never seen studio monitors, they’re big. Really big.
Unless you’re going with the iLoud Micros, you’re going to need a lot of desk space (or invest in some monitor stands).
Weight is also something to keep in mind, especially if you plan on moving them around often.
Beginner studio monitors are a great way to get started in the world of home recording and mixing at a cheaper price point.
They provide clear and accurate sound reproduction, which is essential for getting good results.
Additionally, they come with multiple inputs and outputs, so you can connect them to a variety of different sources.
Yes, the size of the monitor speakers does matter. The larger the speaker, the more bass it can reproduce.
Generally, sound is produced by two speakers, the high-frequency driver (the tweeter) and the low-frequency driver (the woofer).
The size of these speakers is a huge factor in determining how accurately they can reproduce sound signal.
You can also choose to add an optional subwoofer, which produces deep, sub-bass frequencies (the kind you feel in your chest).
Keep in mind that the size of the room you’re using the monitors in will also affect the sound.
If you’re in a small room or apartment, you probably don’t need a massive speaker.
It’s best to experiment with different sizes to see what sounds best in your studio.
A subwoofer is not essential for studio monitoring, but it can be helpful in certain situations.
If you’re working on music with a lot of bass, then a subwoofer can give you a better idea of how the track will sound in a club setting. Additionally, if you’re in a small room, then a subwoofer can help to fill it out and make it sound bigger.
However, if you’re just starting out, then you probably don’t need a subwoofer. You can always add one later on if you find that you need it.
In addition to the monitors themselves, you’ll also need a set of speaker stands. These will elevate the monitors and help to improve the sound quality.
If you have space, you can place the monitors on your desk.
You might also want to consider getting a set of isolation pads. These go under the monitors and help to reduce vibrations.
And finally, if the monitor package doesn’t come with them, you’ll need cables.
This may be controversial, but I don’t think you need studio monitors to be a successful home studio musician or producer.
I think it’s possible to mix accurately on the right headphones as long as you’re using reference tracks.
However, using studio monitors in your mixing process will only make you a better producer and mixer, and give you more options for production.
Most of the time, the speakers on this list will not plug directly into your computer, as is the case with USB mics or off-the-shelf multimedia speakers.
You will likely need an audio interface. An audio interface is a device that converts analog audio signals into digital signals that can be processed by a computer. They also facilitate a wide array of inputs and outputs that let you connect professional microphones, headphones, and studio monitors.
You don’t just need to use studio monitors as a mixer, composer, or producer.
Many video editing professionals invest in studio monitors for sound design. Plus, if you’re an audiophile, a great pair of monitors can turn casual listening into a euphoric experience.
You’ll experience stereo imaging and a wide frequency range that’s just not possible with most consumer-grade bookshelf speakers.
Conclusion
While not essential to making music, studio monitors will definitely give you an edge in your producing, mixing, and mastering workflows. I hope this post has helped you find the best budget studio monitors in 2022.
Truthfully, any of these picks will serve you well!
Keep in mind that the size of your room and the acoustic treatment of your room will directly affect how your studio monitors sound.
A poorly-treated room will make even the best monitors sound terrible. So, if you can, try to treat your room with acoustic panels or bass traps (or just fill it with books!).
For more tips on music production, composition, music theory, and more, subscribe to the blog by opting into the form below, or check out my gear list for my personal favorites for musical production.

