Even after making music for over half my life and composing for several commercial projects, I often find myself in this precarious situation — maybe you can relate.
I sit down at my piano or with my guitar and come up with a decent melody or chord progression, and I just know that it has the potential of being a great piece.
But I can’t quite conceptualize what I want that final track to sound like. What instruments or production decisions will best convey the emotions I’m after?
That process of taking a song from the skeleton of a piano scratch track to a fully-realized piece is called arrangement. And it’s an essential skill for composers and musicians (especially if you can’t afford to go out and hire an arranger).
In this post (and accompanying video), I want to offer twelve arrangement tips that you can implement today to finish that track that’s been sitting on your hard drive since before COVID, and continue to build your body of work.
Table of Contents
What exactly is arrangement in music?
Arrangement is the discipline of structuring all the elements in a song or piece of music to create a cohesive whole. That includes (but isn’t limited to) the melody, harmony, rhythm, and dynamics.
Think of it this way: the arrangement is how you take all the musical ingredients and put them together to make a dish that’s tasty and satisfying.
Just like with cooking, there are certain tried-and-true methods for arranging music that will help you finish tracks faster (many of which we’ll get into in this blog post).
The importance of arrangement in music
Why is arrangement so important? Well, for starters, a well-arranged song will keep listeners engaged from beginning to end.
If your arrangement is all over the place, people will either lose interest or be so overwhelmed that they give up on listening.
A good arrangement will also highlight the best parts of your song and make them shine. It’ll also help to mask any weaknesses in the song so that they’re not as noticeable.
For example, I don’t think anyone would argue that Bob Dylan’s voice is anything to write home about. And while his lyricism is some of the best of all time, his songs are profoundly more listenable thanks to his talented band and his producers’ arrangement choices.
In other words, a good arrangement can make a good song great, and a great song even better. On the flip side, a bad arrangement can make even the best song sound terrible.
So, how do you go about creating a good arrangement? Let’s get into it.
Tip 1: Know your goal
The first step to creating a good arrangement is knowing what you want the final product to sound like. This might seem like a no-brainer, but you’d be surprised how many people start arranging without a clear goal in mind.
If you don’t know what you’re going for, it’ll be hard to make decisions about which elements to keep and which to ditch. Not to mention, you’ll likely end up with an arrangement that sounds all over the place because you couldn’t make up your mind about what you wanted.
So, before you start arranging, sit down and spend some time audiating (yes, that’s a word) what the final product will sound like.
Audiating is basically daydreaming in sound. You close your eyes and “hear” the arrangement in your head before you start creating it. This is an important step because it gives you a roadmap to follow as you’re making decisions about how to arrange the song.
This is a crucial step that many folks (including myself) miss. They jump straight to the piano or DAW without letting their mind do some of the preliminary legwork.
Try to imagine the genre, the energy, the instrumentation, and the overall mood and feel of the song. The more specific you can be, the better. This will give you something to reference as you’re making decisions about the arrangement.
Tip 2: Start with a hook
Once you know what your goal is, it’s time to start putting some notes on paper (or, more likely, in your DAW). And the best place to start is with the hook.
The hook is the most important part of the song because it’s what people will remember long after they’ve finished listening. That’s why it’s so important to make sure that your hook is catchy, memorable, and interesting.
A hook doesn’t need to be a melody. It can be a bassline, a drum loop, or a chord progression.
For example, what’s the hook of Billie Jean by Michael Jackson? It’s not the melody, but in fact, that iconic bassline matched with a rock-solid beat:
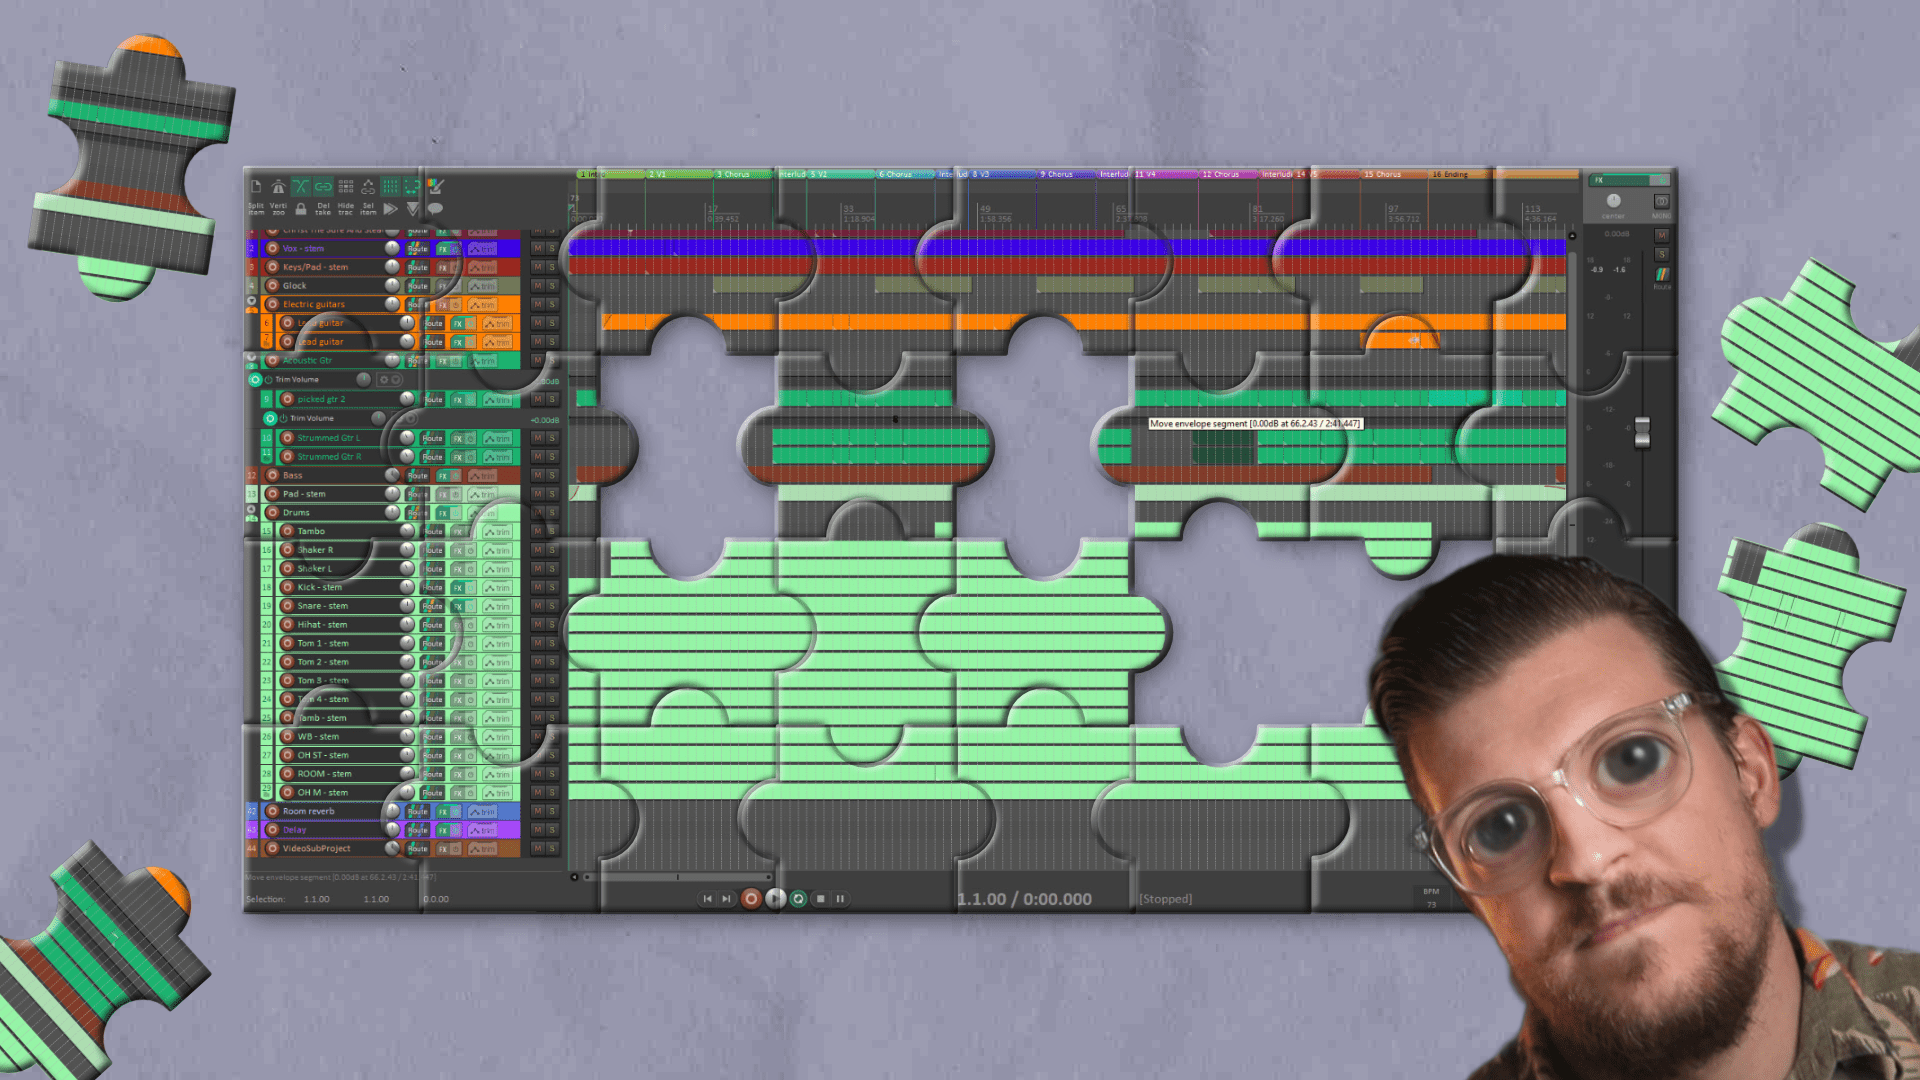
Tip 3: Think of arrangement like a puzzle (and start with the border)
Another tip is to think of arrangement like a puzzle (and start with the border). Completing the edges of a puzzle makes it easier to solve because you’re framing the whole picture.
In the same way, filling in the border of your musical composition “frames it” and makes it much easier to finish.
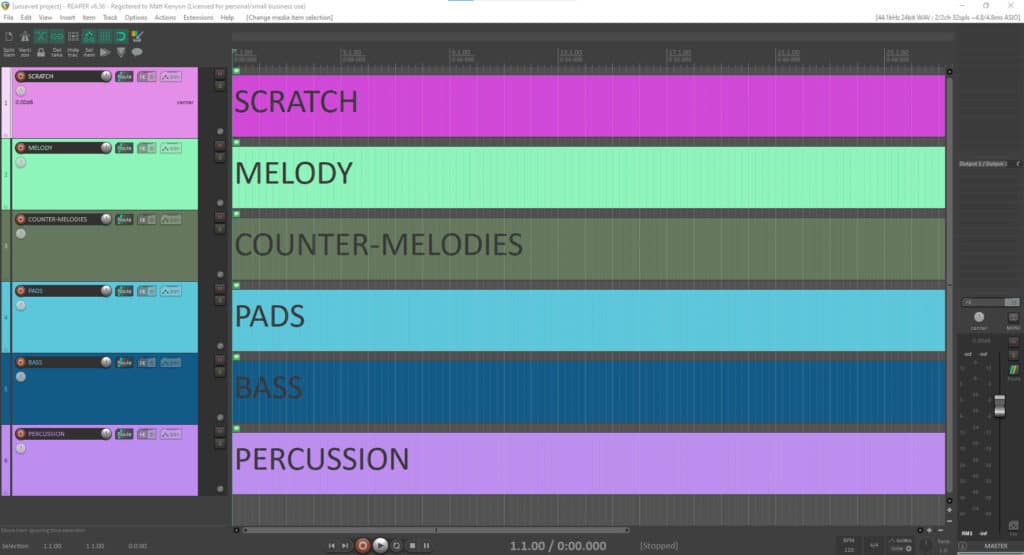
I like to think of arrangement in two dimensions: horizontal arrangement and vertical arrangement. And I try to focus only on one of those dimensions at a time. Otherwise, I get overwhelmed.
The vertical dimension of arrangement represents how you stack your sounds or instruments throughout the track.
The top (for me) represents the highest sounds in the piece, which is usually the melody. The bottom represents the bass and rhythm section.
These “edges” are like a jigsaw puzzle’s top and bottom borders.
The horizontal dimension of arrangement represents the form or structure of the piece across time.
Is it an AABA form? Or ABABC form? Or maybe something else entirely like VCVCBCC, which is the structure of most pop songs.
I like to start with the horizontal dimension in the form of a scratch track. The production process goes much smoother when I first complete the track structure from start to finish, even with a rough piano sketch or a phone recording of my voice.
Do not fall into the trap of adding instruments and layering sounds before you even finish the form of the piece. That’s a guaranteed recipe for overwhelm.
It’s never a good idea to write and arrange a piece simultaneously. Maybe you can do it — I certainly can’t.
In my experience, when you try to do both songwriting and arranging simultaneously, you’re probably not going to do either of them very well.
Once I get the horizontal structure set up, I can then work to fill in the bass, rhythm, and melody, representing the piece’s top and bottom borders.
My standard order of arrangement is:
- Scratch track
- Drums / percussion
- Bass
- Melody
- Inner voices
- Transitions/FX
But this varies wildly from piece to piece and genre to genre. Within each of these are usually multiple layers. For example, my “bass” section may include 4-5 tracks doubled together (we’ll talk more about doublings later in the post).
Tip 4: Use transitions
Transitions between sections are hugely impactful ways to make your arrangement sound more professional and exciting.
Many producers call this “ear candy.” Ear candy or transitions aren’t fundamental to the melodic or harmonic integrity of the piece. But they’re the icing on the cake of your composition.
The best way to learn transitions is to listen for them in your favorite music. Notice the sounds in the background and the subtle ways the piece moves from section to section.
Here are a few transitions I like to employ in my compositions and arrangements:
- Take a hi-hat or crash cymbal and render it out in your DAW. Then, reverse it to create a rising “swoosh” effect that leads into the first beat of the next section.
- As in the above tip, you can also render out and reverse melodic elements to the same effect. Then, fade it up and add an EQ filter sweep to make it feel like it’s “coming into focus” right before a section change.
- Create anticipation for a new section by cutting out all instrumentation (or a portion of the ensemble) for the final moment before the big transition.
- Program or play in a drum fill, bass riff, or melodic flourish that happens only once before transitioning to another section.
Tip 5: Start with the rhythm
When I feel stuck, I’ll go program drums for an hour. A fleshed-out rhythm is a lot more inspiring than a click track and can sometimes change the entire trajectory of the composition.
Tip 6: Use a checklist
I know this sounds ridiculously uncreative, but there’s a reason why the world’s highest performers — including astronauts, doctors, and engineers — live and die by checklists.
Checklists help you focus less on what to do next and more on doing that thing to its fullest potential.
I recommend using checklists for arranging, mixing, mastering — even exporting and uploading your tracks.
How you build a checklist is really up to you and your workflow. I suggest documenting everything you do as you build out a track — and yes, that might take a while the first go-round — and then edit that list to streamline the arrangement of future tracks.
Tip 7: Steal arrangement techniques from other songs
I have a running Google Doc in which I log away production techniques and arrangement tricks. Whenever I hear something interesting — whether from an orchestral track, indie pop song, or video game composition — I log it in the document with a timestamp.
Maybe a synth makes a “bubbly” sound that I love. Or a drum fill hits just right. Everything goes in the doc.
When I’m stuck, I just open up that document, look at those tips, and try to replicate or emulate those techniques in my compositions.
I inevitably put my own spin on the technique, making it unrecognizable from the source material.
Tip 8: Experiment with doublings
Doubling (or layering) instruments goes back hundreds of years to the world of orchestral composition.
Thanks to modern DAWs and software, we don’t have to guess what two (or three, or ten) instruments stacked on top of each other sound like. We can whip it up in seconds with VSTs.
Some of the most exciting and unexpected sounds come from layering instruments that seemingly “don’t go together.” Koji Kondo did this when he layered banjo and steel drum samples in Super Mario World.
No rule says you can’t layer a marimba and a dirty FM synth. Try it!
Tip 9: Imagine you have a real-life band
Another thing I like to do when I’m feeling option-anxiety is to arrange my composition like I would for a real-life band. I’ll often limit myself to a certain number of “players.”
After all, if the Police made such beautiful music with only three people on stage, the lack of players isn’t an excuse.

That means if there are only four people in the band, only four instruments can be played at a given time.
This exercise helps me get out of that analysis paralysis rut that comes from swimming in plugin options.
Tip 10: Arrange section by section to “validate” your ideas and not waste time
Should you arrange instrument by instrument (go through the whole piece and do just the bass to the very end) or section by section (go through verse 1 and arrange all instruments, verse 2, etc.)?
I take a hybrid approach. I like to arrange the song’s climax first (if it has one) because it will likely have the densest instrumentation.
Then, I assess how I like the ensemble and emotional trajectory of the music. If I do like it, I’ll take those sounds and arrange them across the whole song with varying degrees of emphasis, energy, and dynamics.
I’ve often gone “straight through” and arranged an instrument across the entire track, only to realize that when I add the rest of the ensemble, it sounds out of place.
To avoid this trap, I recommend validating your arrangement in one section. You can then go instrument by instrument across the whole piece if you like it.
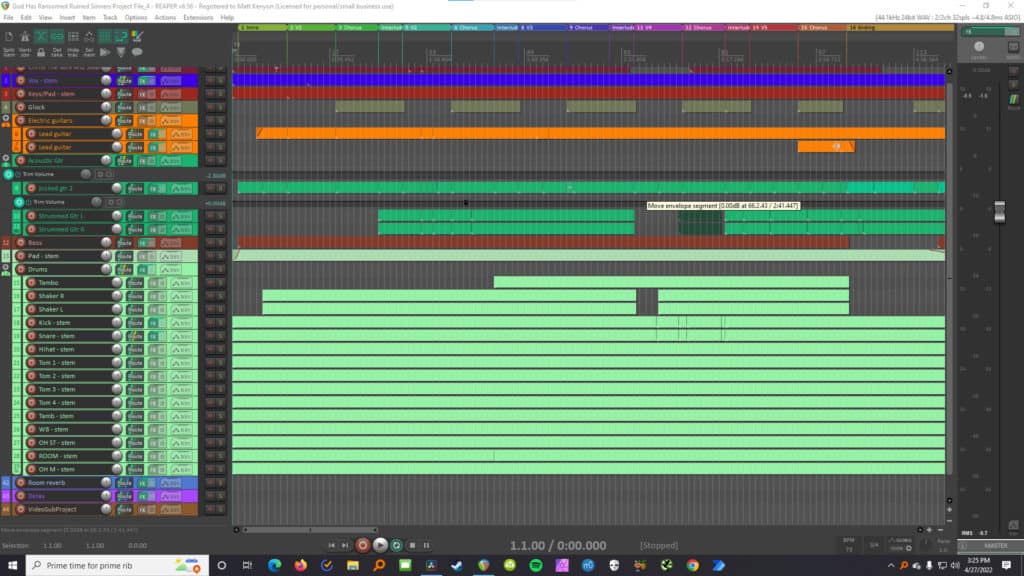
Tip 11: Try sound sculpting or subtractive arrangement
Sound sculpting or subtractive arrangement is a technique I learned from my brief time producing EDM and electronic music. It applies best to loop-based music (like video game music, for example).
In the previous tip, I talked about how I like to arrange the section of the track with the highest energy first. The hardest part is pretty much done once you do that.
You can clone out those instrumentation blocks across your timeline and “subtract” them from other sections to control the energy level.
It’s like taking a slab of marvel and chipping away at it until you’ve got a beautiful sculpture.
If you’re not producing loop-based music, you can still brain dump all your ideas onto an arrangement and then carve away what you don’t need later.
Almost all of my folk or indie compositions start with me making the arrangement too intense and dialing it back later.
Turn off your inner editor and let your imagination run free. Trust yourself that once you shift your brain into “editing mode,” you’ll go back and sculpt the sound until it sits right where you want it.
Tip 12: Use mixing to accent your arrangement choices
Mixing is more than just getting levels balanced and making things sound good in headphones. It’s an art form in itself, and there are a million ways to use mixing to enhance the arrangement. For example, you could…
- Pan instruments to different places in the stereo field to create more space
- Automate volume, EQ, or other effects to create interest and energy changes
- Use sends and returns to add parallel processing like reverb or delay
- Sidechain compress certain tracks to make room for others
All of these mixing techniques can be used to support and enhance the arrangement choices you make.
Don’t be afraid to experiment with mixing techniques to bring out the best in your track. A well-mixed song will always sound better than a poorly-arranged one.
More arrangement best practices
Here are a few more general tips to keep in mind as you’re arranging:
Less is more: it’s always better to have a sparse arrangement with a few well-chosen elements than a cluttered one with too much going on.
The arrangement should support the song, not overshadow it: the goal is to enhance the song, not to make it sound completely different.
Think about how the arrangement will evolve over time: how will it build and change as the song progresses?
Arranging is an art, not a science: there are no hard and fast rules, so don’t be afraid to experiment.
Finally, don’t get too tied up in the details. It’s easy to get caught up in the minutiae of things like which notes to use or how many bars a section should be.
But at the end of the day, the most important thing is that the song sounds good. So don’t sweat the small stuff too much.
How to arrange music by ear
Arranging music by ear, or audiating, is one of the most valuable skills you can build as a musician and composer.
Audiating isn’t easy and takes a lot of practice. But if you can get good at it, you’ll be able to do things like…
- Hear how a chord progression would sound in a different key
- Transpose a melody into a new range
- Create your own arrangements without needing sheet music, an instrument, or a DAW
It’s crucial to have a good understanding of how notes and chords sound without needing to play them on an instrument as a reference.
For example, if I stopped writing right now, I could make myself “hear” a trumpet section playing a maj7 chord in my mind.
That ability to audiate how particular instruments sound helps me because I’m able to arrange and compose music through craft, not trial-and-error.
Audiating takes a lot of time to understand and implement, and that only comes from putting in the work and actually composing and arranging songs.
How to arrange music for piano
The piano is a versatile instrument that can be used for both solo and ensemble playing.
If you’re arranging music for the piano, there are a few things to keep in mind.
First, the piano has a wide range of notes that can be played at the same time, so you have a lot of harmony options unavailable to other monophonic instruments.

Second, the piano can be played very loudly or very softly, so you can create a wide range of dynamics.
And finally, the piano can sustain notes for a long time, so you can create smooth transitions and sustained soundscapes.
Whereas instruments like woodwinds and horns require players to breathe, piano notes can sustain indefinitely.
Software for arranging music
There are a few different software options you can use for arranging music.
The two most popular DAWs, or digital audio workstations, are Logic Pro and Pro Tools.
Both of these software platforms have a wide range of features and plugins that allow you to arrange, compose, and mix music.
Personally, I prefer to use Reaper for DAW arrangement and MuseScore when I feel like arranging some good ol’ fashioned sheet music.
Many experienced arrangers swear by premium notation platforms like Sibelius, Dorico, and Finale. MuseScore is free and gets the job done for my casual arrangement needs just fine.
Each platform has its own strengths and weaknesses, so it’s important to try out a few different options to see which one works best for you.
How to arrange music for a cappella
A cappella music is vocal music without any accompaniment from instruments.
If you’re arranging a cappella music, it’s important to keep the voices balanced and in tune with each other.
Many a cappella arrangements make use of counterpoint, or the simultaneous presentation of two or more melodies.
This can create a rich and full sound, even with just a few voices.
When arranging for a cappella, it’s also important to consider the range of each singer. You’ll want to make sure that everyone is comfortable singing their part, and that no one is straining their voice too much.
The most common vocal ranges for a cappella arrangement are soprano, alto, tenor, and bass.
Here are the ranges for each vocal group:
Soprano: C4 – C6
Alto: G3 – F5
Tenor: C3 – A4
Bass: E2 – G4
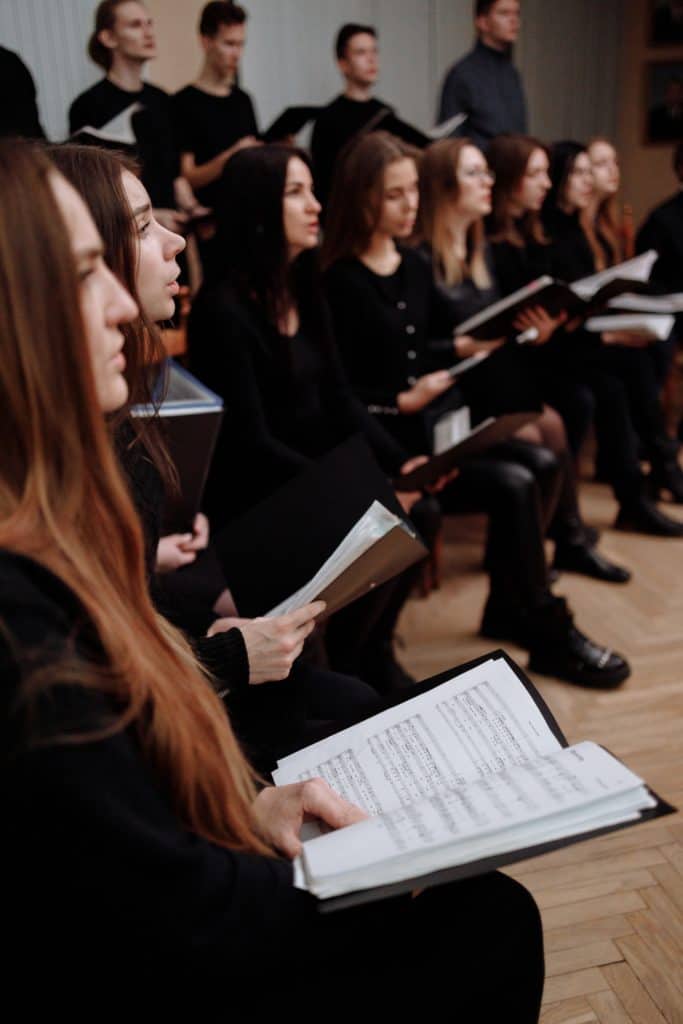
You might also see the term “lead” used in a cappella arrangements. This generally refers to the singer who is carrying the melody.
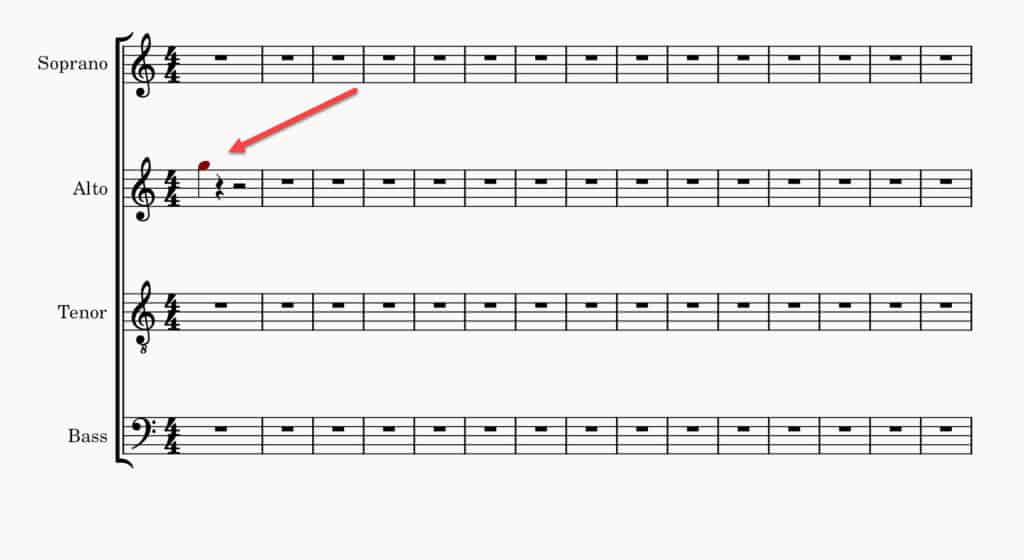
If you use a platform like MuseScore, you can use an SATB (Soprano, Alto, Tenor, Bass) template. The software will even warn you by color-coding notes outside of the common ranges of these vocal types.
If you want to learn a cappella arrangement, just pick up a hymnal like the Trinity Hymnal and study the heck out of the arrangements. Old church hymns are absolute masterclasses in vocal arrangement and counterpoint.
Arrangement FAQs
What’s the difference between arranging and composing?
Composing is the process of creating new music, whereas arranging is the process of taking existing music and rearranging it for a new context or purpose.
Many composers also do the work of arrangement, they just don’t necessarily call it that.
What’s the difference between structure and form in music arrangement?
The structure of a piece of music is the overall organization of how the music is put together.
Form, on the other hand, is the specific arrangement of musical elements within each section or phrase.
How do I know if my arrangement is finished?
This is a tough question to answer because there’s no one right answer.
In general, you’ll know your arrangement is finished when it sounds the way you want it to sound and communicates the message you want to communicate.
Of course, there are always going to be things you can tweak and improve upon, but at some point, you just have to let go and call it done.
How many instruments does the average song have?
The average pop song has about 5-6 different instruments, including the lead vocal.
Of course, there are always exceptions to this rule.
Some songs might have a full orchestra playing, while others might just have a single acoustic guitar.
It really just depends on the style of music and the message the artist is trying to communicate.
Music arrangement examples
Here are a few examples of well-known songs that have been arranged for different purposes:
“We Will Rock You” by Queen was originally written as an anthemic rock song. It has since been arranged for everything from marching bands to string quartets.
The Christmas carol “Silent Night” has been arranged countless times, for everything from solo voice to full orchestra.
Johann Sebastian Bach’s “Brandenburg Concerto No. 5” was originally written for a small orchestra. It has since been arranged for everything from piano to rock band.
As you can see, there are no rules when it comes to arranging music. It’s all about creativity and finding the right sound for the piece.
Final thoughts
Arrangement is an intimidating part of music production. But just as with transcription, the best way to learn arrangement is not by abstractly reading about it in a book (or in this blog post!).
The best way to learn arrangement is by actually studying real-life arrangements and practicing those techniques in your compositions.
I created a whole course on everything you need to know about making video game music where I cover these principles (and a lot more).
Each lesson focuses on iconic video game tracks and why they’re so great — and a big part of that is arrangement. We extract lessons from the music, and I show you how you can utilize those techniques in your compositions.
To start a trial and watch a handful of lessons for free, click this link.
Thanks for reading, and happy arranging!
